
How to Host a Backyard Hibachi Party (Step by Step)
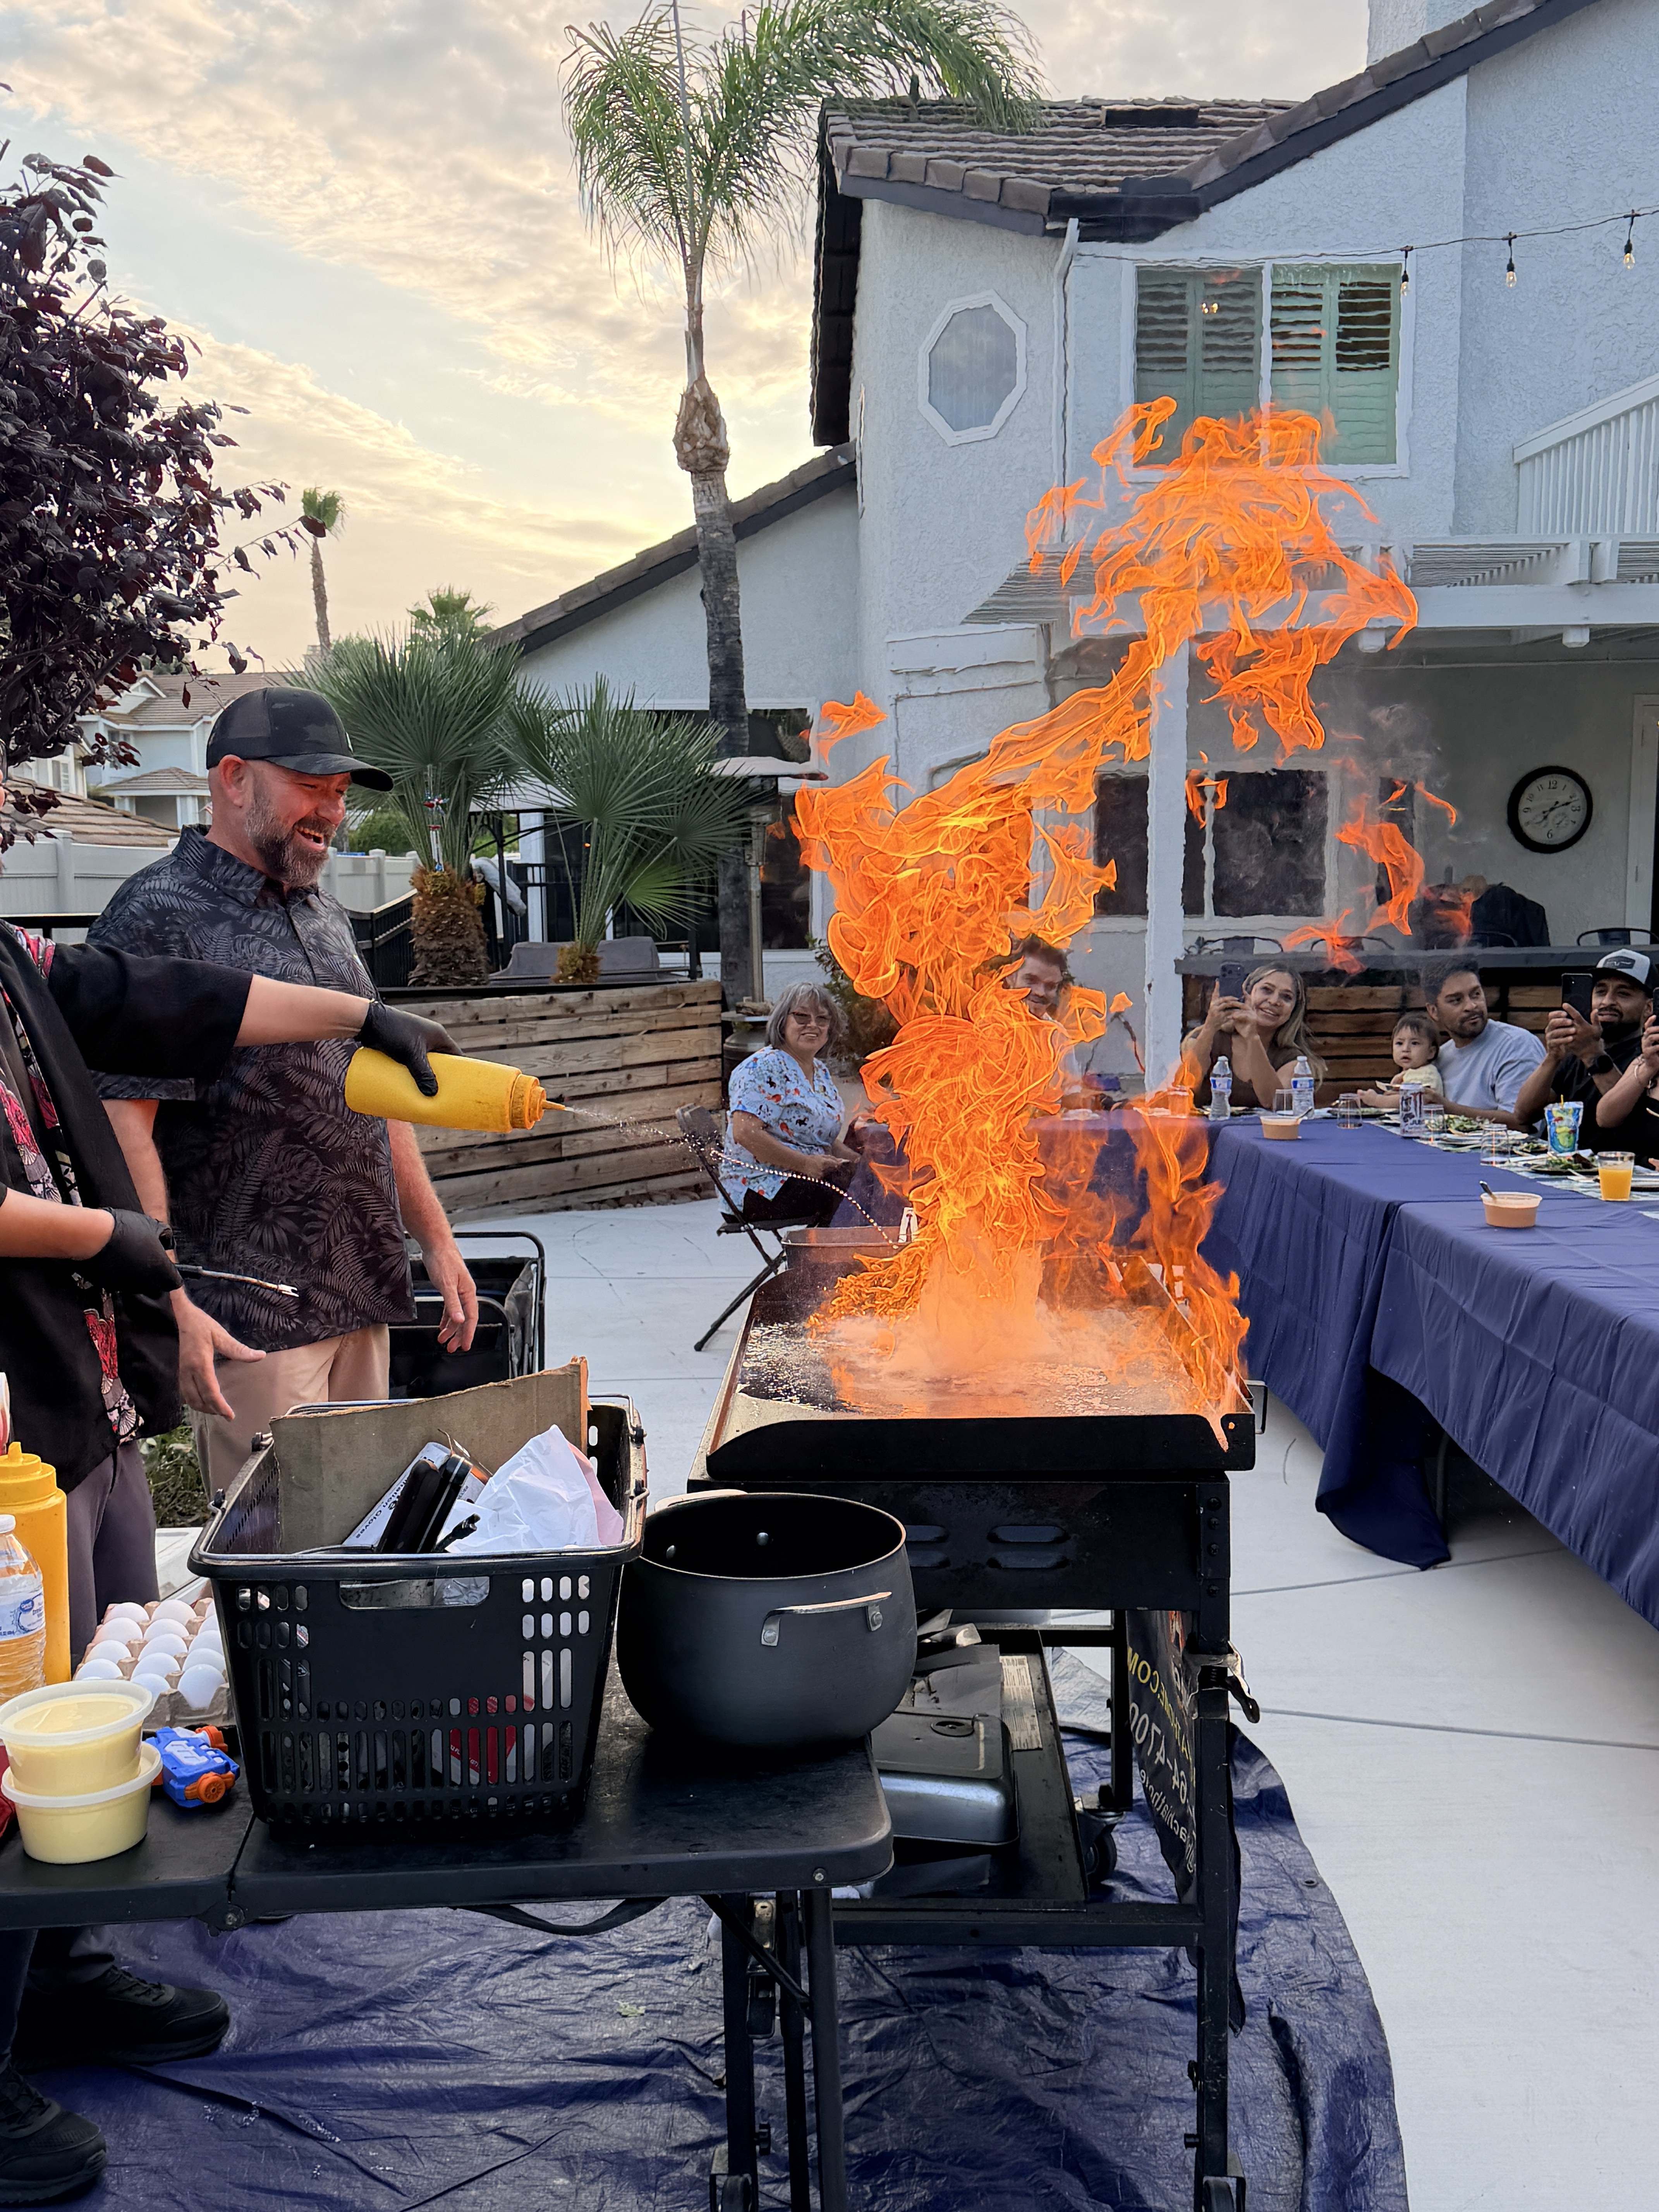

How to Host a Backyard Hibachi Party (Step by Step)
A backyard hibachi party is the rare event where the host gets to be a guest. But the difference between a smooth show and a scramble is about five decisions, all made before party day. Here's the whole playbook.
Step 1: Check your space (2 minutes)
The grill needs three things:
Not sure? Send a photo with your quote request and the team will confirm the spot before the date.
Step 2: Pick your date and time
Step 3: Count your people, then quote it
Every guest picks two proteins on the spot, so you don't collect orders in advance — just an accurate headcount. Adults, kids 5–12, and littles under 5 are priced separately. [The instant quote tool](/quote) turns your headcount into an exact number in 30 seconds.
Step 4: Seating — the one thing the chef doesn't bring
You provide tables, chairs, and place settings, or add the tableware rental ($15/person: tables, chairs, tableware, tablecloth) and provide nothing at all.
Layout tip from 500+ parties: arrange seating in a U-shape or L-shape facing the grill. Everyone gets a front row, and the chef can run games to every seat.
Step 5: Clear the runway
The most common cause of a late start isn't traffic — it's load-in. The grill, propane, and coolers travel from the chef's vehicle to your yard, so:
Step 6: Plan the extras (or don't)
The show is the entertainment — you genuinely need nothing else. Hosts who want more usually add string lights, a playlist for before the chef starts, and a dessert moment after. If it's a birthday, [tell us — the chef will build the show around it](/party/birthday-party).
What about weather?
Southern California is the best hibachi climate in America, but if rain shows up: a 10'×10' pop-up tent over the chef's station saves the party (you provide the tent), and guests eat indoors while the chef cooks outside. Reschedule 48+ hours out and there's no charge.
The day-of timeline
Ready? [See the full backyard party page](/party/backyard-party) or [get your instant quote](/quote).